
Mid-Summer Tire Health Check: Tread, Pressure, and Sidewalls in Five Minutes
A quick mid-season inspection can help Canadian drivers spot pressure loss, worn tread, sidewall damage, and uneven wear before the next highway trip or summer storm.
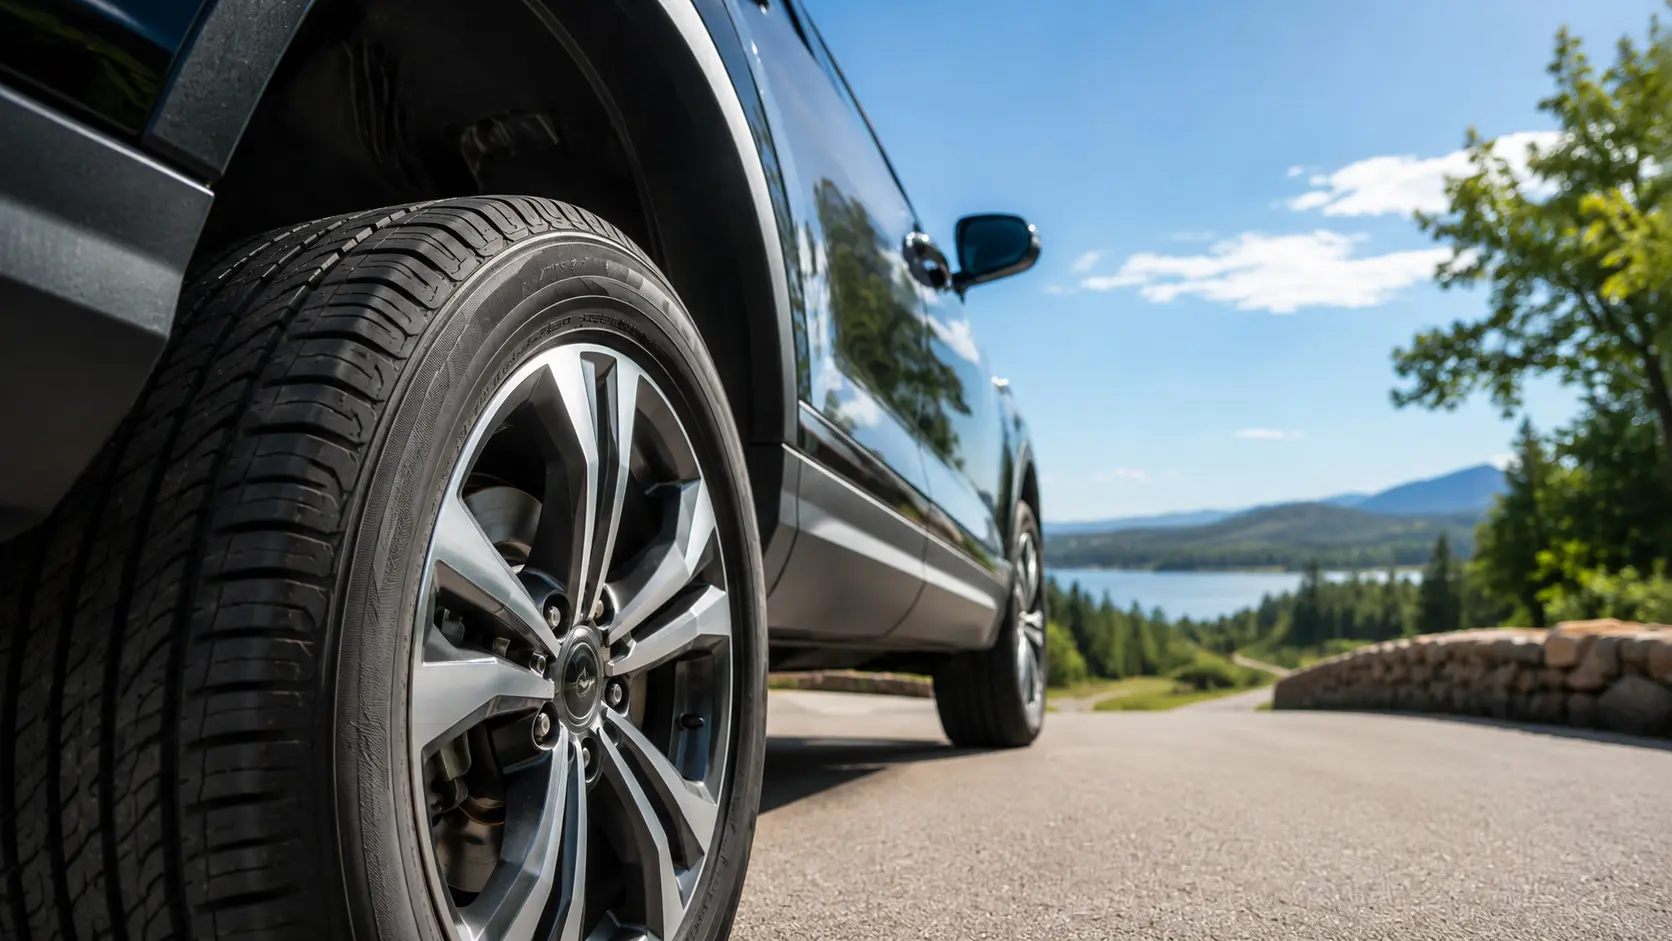
Mid-Summer Tire Health Check: Tread, Pressure, and Sidewalls in Five Minutes
By the middle of summer, your tires may have already travelled through weeks of highway heat, construction zones, potholes, gravel shoulders, sudden rain, and fully loaded road trips. Even tires that looked healthy in spring can develop pressure loss, uneven wear, embedded objects, or sidewall damage as the season progresses.
A five-minute mid-summer tire health check gives you an opportunity to catch visible problems before they affect traction, handling, braking, ride comfort, or fuel efficiency. It does not replace professional tire service, but it can help you recognize when a tire needs pressure adjustment, rotation, repair, or replacement.
Why a Mid-Summer Tire Check Matters
A mid-summer inspection helps identify tire problems that may have developed after months of heat, road impacts, long-distance driving, and changing vehicle loads.
Tires are the only parts of your vehicle that maintain direct contact with the road. Their condition influences steering response, braking performance, wet-weather traction, ride quality, and the ability to resist hydroplaning.
Canadian summer driving can be demanding. Drivers may encounter hot pavement in southern Ontario, abrupt temperature changes across the Prairies, heavy rain in Atlantic Canada, mountain routes in British Columbia, or rough construction zones throughout the country. Long daylight hours also encourage more road trips, towing, cottage travel, and fully loaded vehicles.
These conditions can expose small problems that were not obvious at the start of the season, including:
- Gradual air-pressure loss
- Uneven tread wear caused by alignment or suspension issues
- Damage from potholes, curbs, or road debris
- Cracking or deterioration in an older tire
- Bulges caused by internal impact damage
- Excessive wear from long highway trips
- Underinflation after carrying additional passengers or cargo
Expert tip: Tire condition can change gradually, so a vehicle may still feel normal even when one tire is underinflated or wearing unevenly. A visual inspection helps you find problems before they become easier to feel from the driver’s seat.
What You Need for the Five-Minute Check
You only need a reliable tire-pressure gauge, adequate lighting, and a few minutes with the vehicle parked safely.
- A digital or dial-style tire-pressure gauge
- A tread-depth gauge, if available
- Your vehicle’s tire-information placard
- A flashlight for inspecting inner tread areas
- A clean cloth for wiping dirt from valve stems
The tire-information placard is commonly located on the driver’s door jamb, inside the fuel door, or in the owner’s manual. It lists the vehicle manufacturer’s recommended cold inflation pressure for the original tire size.
Do not use the maximum pressure moulded into the tire sidewall as the normal inflation target. That number relates to the tire’s maximum rated load conditions, not necessarily the pressure specified for your vehicle.
The Five-Minute Tire Inspection at a Glance
Spend approximately one minute on each part of the inspection and compare all four tires rather than checking only the front pair.
| Time | Inspection | What to Check | Possible Action |
|---|---|---|---|
| Minute 1 | Tire pressure | Compare cold pressure with the vehicle placard | Inflate to the recommended pressure or investigate repeated pressure loss |
| Minute 2 | Tread condition | Measure depth and look for uneven wear | Plan rotation, alignment inspection, or replacement |
| Minute 3 | Sidewalls | Look for cuts, bulges, cracks, and impact damage | Have suspicious damage inspected before driving |
| Minute 4 | All-tire comparison | Compare wear, size, age, and condition | Address mismatched or unusually worn tires |
| Minute 5 | Final walk-around | Check valve caps, visible objects, and TPMS warnings | Correct minor issues or schedule professional service |
Minute One: Check the Tire Pressure
Correct tire pressure supports predictable handling, even tread wear, fuel efficiency, and proper load-carrying capacity.
Find the Correct Cold Inflation Pressure
Start with the pressure listed on the vehicle’s tire-information placard. Front and rear pressures may be different, particularly on performance vehicles, vans, pickup trucks, and vehicles designed to carry heavier rear loads.
Check the pressure before driving or after the vehicle has been parked long enough for the tires to cool. Tire pressure naturally rises as the tire warms during driving. Measuring a hot tire can produce a higher reading that does not represent its cold inflation pressure.
Measure All Four Tires
- Remove the valve-stem cap.
- Press the pressure gauge firmly onto the valve stem.
- Read the pressure and compare it with the placard.
- Add air when the reading is below the vehicle specification.
- Recheck the pressure after adding air.
- Replace the valve-stem cap.
Check every tire individually. A tire can lose pressure while the other three remain close to specification. Pressure can escape through a puncture, damaged valve stem, corroded wheel bead area, or an imperfect seal between the tire and wheel.
Do Not Bleed Air from a Hot Tire
Pressure increases while driving because the air inside the tire becomes warmer. Avoid releasing air simply because a warm tire reads above the cold specification. Bleeding a hot tire may leave it underinflated after it cools.
Recheck the pressure when the tire is cold. When a major adjustment is necessary during a trip, use the vehicle manufacturer’s guidance or consult a tire professional.
Watch for Repeated Pressure Loss
A small seasonal adjustment can be normal, but a tire that repeatedly loses pressure needs attention. Adding air every few days without identifying the cause can allow a puncture, valve problem, or wheel-sealing issue to worsen.
A tire-pressure monitoring system can warn you when pressure becomes significantly low, but it should not replace manual checks. The system may not alert you to smaller pressure differences that can still affect wear and handling.
Minute Two: Inspect the Tread
Healthy tread must have enough depth to channel water and should wear evenly across the tire’s contact surface.
Measure Tread Depth in Several Locations
A tread-depth gauge provides a clearer measurement than relying only on a quick visual estimate. Measure the inner, centre, and outer portions of the tread at several points around each tire.
In Canada, a commonly recognized minimum tread depth for passenger tires is approximately 1.6 millimetres, or 2/32 of an inch. However, wet-weather performance may decline before a tire reaches the minimum. Drivers who regularly encounter heavy rain, high-speed highways, or long stopping distances should plan replacement with an appropriate safety margin rather than waiting until the tread is completely worn.
Locate the Tread-Wear Indicators
Most passenger tires have raised wear bars inside the main tread grooves. When the tread surface becomes level with these indicators, the tire has reached its built-in wear limit and should be replaced.
Wear bars are useful, but they do not show whether the tire is wearing unevenly. Inspect the full width of the tread, including the inner shoulder, which may be difficult to see from outside the vehicle.
Look for Uneven Wear Patterns
| Wear Pattern | What It May Suggest | Recommended Next Step |
|---|---|---|
| Both outer shoulders worn | Possible underinflation or repeated heavy loading | Verify pressure and have the tire inspected |
| Centre tread worn faster | Possible overinflation or an unsuitable pressure setting | Confirm the placard pressure and inspect the tire |
| One shoulder worn | Possible wheel-alignment or suspension issue | Schedule an alignment and steering inspection |
| Cupped or scalloped areas | Possible suspension, balance, or alignment problem | Have the vehicle professionally inspected |
| One tire wearing faster | Possible missed rotation, pressure issue, or mechanical problem | Compare service history and schedule an inspection |
Check for Objects and Tread Damage
Look for nails, screws, stones, glass, or other debris in the tread. Do not remove an embedded object if the tire is still holding air. The object may be temporarily limiting air loss, and removing it could cause the tire to deflate rapidly.
Mark the location if possible and have the tire inspected. Whether a puncture can be repaired depends on its position, size, angle, and the tire’s internal condition. Sidewall and shoulder punctures are generally not treated the same way as repairable tread-area punctures.
Expert tip: A tire may look acceptable from the outer shoulder while the inner edge is nearly worn out. Turn the steering wheel when safely parked to improve your view of the front tire tread, and use a flashlight to inspect difficult areas.
Minute Three: Examine the Sidewalls
Sidewalls should be free from bulges, deep cuts, exposed cords, significant cracking, and visible impact damage.
The sidewall flexes as the tire rotates and supports the vehicle’s load. Unlike the tread, it does not have the same reinforced thickness for contact with the road. Damage in this area can affect the tire’s structural integrity.
Look for Bulges or Bubbles
A bulge may indicate that internal cords were damaged by a pothole, curb strike, or other impact. The outer rubber can stretch while the weakened internal structure allows air pressure to push outward.
Do not ignore a sidewall bulge, even when the tire is not losing air. Limit driving and arrange a professional inspection as soon as practical. A visibly bulged tire may require replacement.
Check Cuts, Scrapes, and Gouges
Light cosmetic scuffing can occur from contact with a curb, but deeper cuts or gouges need closer attention. Seek professional advice when:
- The cut is deep enough to expose fabric or cords
- The rubber appears separated
- The damaged area is growing
- The tire is losing pressure
- The damage followed a hard impact
Inspect for Cracking and Weathering
Fine surface lines can appear as rubber ages and is exposed to sunlight, ozone, temperature changes, and road conditions. Cracking that is widespread, deep, or accompanied by stiffness should be professionally evaluated.
Age is not the only factor used to determine tire condition. Storage history, climate, inflation, load, kilometres travelled, and maintenance all affect how a tire ages.
Minute Four: Compare All Four Tires
Comparing the tires as a set helps reveal differences that are easy to miss when each tire is viewed separately.
Compare Tread Depth
Large differences in tread depth may affect wet traction, braking balance, and the operation of some all-wheel-drive systems. They can also indicate missed rotations, incorrect pressure, alignment problems, or previous replacement of only one tire.
Consult the vehicle manufacturer’s requirements before replacing fewer than four tires on an all-wheel-drive vehicle. Some systems have limits on acceptable differences in tire circumference or tread depth.
Confirm Tire Size and Type
Check that the tire sizes match the vehicle requirements and that the tires are appropriate for the same general use. Mixing substantially different tire types, constructions, tread patterns, or performance categories can create inconsistent handling.
Summer tires, all-season tires, and all-weather tires are designed with different tread patterns and rubber compounds. The correct setup depends on the vehicle, season, climate, and manufacturer guidance.
Read the Tire Date Code
The last four digits of the DOT tire identification code indicate the week and year of manufacture. For example, a code ending in 2423 indicates that the tire was manufactured during the 24th week of 2023.
The complete code may appear on only one side of the tire. The date code helps provide context, but it should be considered alongside visible condition, service history, storage, and manufacturer recommendations.
Minute Five: Complete a Final Walk-Around
A final walk-around confirms that each tire appears properly inflated, undamaged, and ready for normal driving.
Stand back and compare the shape of all four tires. One tire that appears lower than the others may be significantly underinflated, although visual appearance alone cannot confirm pressure.
During the final minute, check for:
- Missing or damaged valve-stem caps
- A valve stem that appears cracked or bent
- Fresh cuts or impact marks near the wheel
- Objects lodged in the tread
- Uneven vehicle stance
- A tire-pressure monitoring system warning
- Unusual vibration or pulling noticed during recent drives
A valve cap helps keep dirt and moisture away from the valve core. It is inexpensive to replace, but a missing cap does not explain pressure loss by itself. A leaking valve stem or valve core should be repaired by a tire technician.
How Canadian Summer Conditions Affect Tires
Summer heat, heavy rain, road construction, long trips, and changing vehicle loads can accelerate wear or expose existing tire problems.
Hot Pavement and Long Highway Drives
Highway driving builds heat in a tire through repeated flexing. Proper inflation helps the tire operate within its intended shape and load capacity. Underinflation can increase flexing and heat generation, particularly when the vehicle is heavily loaded.
Before a long trip, check pressure while the tires are cold and confirm the vehicle’s load limits. Extra passengers, luggage, bicycles, camping equipment, or a trailer can significantly change the demands placed on the tires.
Heavy Rain and Hydroplaning Risk
Tread grooves help move water away from the tire’s contact area. As tread becomes shallower, the tire has less capacity to manage standing water. Speed, water depth, tire design, tread depth, pressure, and road surface all influence hydroplaning risk.
Slow down during heavy rain, increase following distance, and avoid abrupt steering or braking. Even a tire with acceptable tread cannot eliminate hydroplaning risk when speed and water conditions are severe.
Potholes and Construction Zones
Summer construction can expose tires to sharp pavement edges, debris, uneven lanes, and temporary gravel surfaces. A hard impact may damage a tire, bend a wheel, or disturb alignment without causing an immediate flat.
After a strong impact, watch for vibration, steering pull, pressure loss, sidewall bulging, or a newly off-centre steering wheel.
Temperature Changes
Tire pressure changes as ambient temperature changes. A cool morning followed by a hot afternoon can produce noticeably different readings. Use cold pressure as the consistent reference point and continue checking throughout the season.
How Often Should You Check Your Tires?
Check tire pressure at least monthly and inspect the tires before long trips, heavy loads, or highway travel.
| Timing | Recommended Check |
|---|---|
| Every month | Cold tire pressure, tread condition, and visible sidewall damage |
| Before a road trip | Pressure, tread depth, load requirements, spare tire, and repair kit |
| After a pothole or curb impact | Bulges, cuts, pressure loss, vibration, and alignment symptoms |
| When the TPMS light appears | Measure all tires with a pressure gauge and inspect for leakage |
| After changing vehicle load | Review the owner’s manual for applicable pressure guidance |
| During seasonal tire changes | Inspect tread depth, age, damage, rotation position, and storage condition |
Tire rotation intervals vary by vehicle and tire. Follow the vehicle owner’s manual, the tire manufacturer’s guidance, or the schedule recommended by your tire service provider.
Warning Signs That Need Professional Attention
Bulges, exposed cords, rapid pressure loss, deep cuts, severe vibration, and significant uneven wear should be inspected promptly.
Stop and Inspect Before Continuing
- A tire is visibly flat or rapidly losing air
- The sidewall has a bulge or bubble
- Cords or internal material are visible
- The tire has a deep cut or separated rubber
- The vehicle suddenly develops severe vibration
- You hear repeated thumping or flapping
Schedule Service Soon
- One tire repeatedly needs air
- The vehicle pulls to one side
- Tread wear is uneven across the tire
- The steering wheel vibrates at certain speeds
- Tread depth is approaching the wear indicators
- The tire shows widespread cracking or deterioration
- The TPMS warning returns after pressure adjustment
When tire damage is suspected, avoid unnecessary highway driving until the tire has been evaluated. A qualified technician may need to remove the tire from the wheel to inspect its internal condition.
Common Mid-Summer Tire-Check Mistakes
The most common mistakes are checking hot tires, using the sidewall maximum as the target pressure, and inspecting only the visible outer tread.
- Checking only when the TPMS light appears: Manual pressure checks can identify smaller differences before a warning is triggered.
- Using the sidewall number: Follow the vehicle placard for the recommended cold inflation pressure.
- Bleeding pressure from hot tires: Recheck after the tires have cooled.
- Inspecting only one tire: Compare all four tires and check the spare when equipped.
- Ignoring the inner tread: Alignment-related wear may be concentrated on the inside shoulder.
- Removing a nail immediately: Leave embedded objects in place until the tire can be professionally inspected.
- Assuming visible tread is enough: Measure tread depth rather than relying only on appearance.
- Postponing a bulge inspection: Sidewall bulges may indicate structural damage.
- Replacing pressure without finding the leak: Repeated pressure loss needs diagnosis.
Your Five-Minute Mid-Summer Tire Checklist
Use this simple sequence once a month and before major summer trips.
- Park safely and allow the tires to cool.
- Locate the recommended pressures on the vehicle placard.
- Measure the pressure in all four tires.
- Inspect the inner, centre, and outer tread.
- Check tread depth and wear indicators.
- Look for uneven wear or embedded objects.
- Inspect each sidewall for cuts, cracks, and bulges.
- Compare the condition and tread depth of all four tires.
- Check valve stems, valve caps, and TPMS warnings.
- Arrange professional service for anything unusual.
Five-minute rule: If you find something you cannot confidently identify, treat the inspection as a reason to seek professional advice rather than a reason to continue driving and monitor it indefinitely.
Final Recommendation
A five-minute mid-summer tire check is a practical way to identify pressure loss, worn tread, and visible damage before the next road trip or heavy rainstorm.
Begin with cold tire pressure, measure tread across the full width, and inspect every sidewall for cuts, cracking, or bulges. Compare all four tires and pay attention to repeated pressure loss, unusual vibration, or uneven wear.
Regular inspections cannot prevent every tire problem, but they can give you more time to respond. When a tire shows structural damage, significant wear, or an unexplained loss of pressure, have it inspected by a qualified tire professional before relying on it for extended highway driving.
Frequently Asked Questions About Summer Tire Checks
These answers address the most common questions Canadian drivers have about pressure, tread, heat, and mid-season tire maintenance.
Should I check tire pressure when the tires are hot or cold?
Check tire pressure when the tires are cold, ideally before driving or after the vehicle has been parked long enough to cool. Driving warms the tires and raises the measured pressure, which makes it harder to compare the reading with the vehicle’s cold inflation specification.
What tire pressure should I use in summer?
Use the cold inflation pressure listed on the vehicle’s tire-information placard or in the owner’s manual. Do not automatically inflate the tire to the maximum pressure shown on its sidewall. Front and rear specifications may be different.
Does hot summer weather make tire pressure too high?
Pressure increases as the tire and surrounding air become warmer. This is expected during normal driving. Do not release air from a hot tire simply because its reading is above the cold specification. Check it again after the tire cools.
How often should I check tire pressure during summer?
A monthly pressure check is a practical minimum for many drivers. Check more frequently before long trips, when carrying heavy loads, after major temperature changes, or when one tire has a history of losing pressure.
How much tread do I need for summer rain?
A passenger tire should remain above the applicable legal minimum and should have enough tread to manage the conditions in which it is used. Wet traction can decline as tread wears, so drivers who frequently encounter heavy rain or highway travel should plan replacement before the tire is fully worn.
Can I use a coin to check tire tread?
A coin can provide a rough visual reference, but a tread-depth gauge gives a more precise measurement. Measure several locations across each tire because wear may not be even.
What does a bulge in the tire sidewall mean?
A bulge may indicate internal structural damage, often following a pothole or curb impact. The tire should be inspected promptly, and unnecessary driving should be avoided until its condition is confirmed.
Can a sidewall puncture be repaired?
Sidewall and shoulder damage generally cannot be treated like a puncture in the main tread area. Repairability depends on the exact location and condition of the tire, so it should be assessed by a qualified technician.
Why does one tire keep losing air?
Possible causes include a puncture, damaged valve stem, leaking valve core, wheel corrosion, bead-sealing problem, or impact damage. Repeatedly adding air without identifying the cause is not a permanent solution.
Is a TPMS light enough to tell me when pressure is low?
A tire-pressure monitoring system is an important warning tool, but it does not replace regular gauge checks. The system may not alert you to every smaller pressure difference, and it does not measure tread or sidewall condition.
Why are my tires wearing more on one edge?
Wear concentrated on one shoulder may be related to wheel alignment, suspension condition, inflation, or driving patterns. A professional inspection can determine whether an alignment or mechanical repair is required.
Should I check my spare tire during a summer inspection?
Yes. When the vehicle has an inflatable spare, check its pressure and condition according to the owner’s manual. Spare tires are often overlooked and may lose pressure while stored for long periods.
Recommended Related Reading
Use these TireWarehouse resources to continue building a complete tire-maintenance routine.
- How to Check Tire Pressure Correctly in Canada
- How to Measure Tire Tread Depth and Read Wear Patterns
- Summer Road Trip Tire Checklist for Canadian Drivers
- When to Rotate Your Tires and Why Rotation Matters
- How to Read Tire Sidewall Numbers, Ratings, and Date Codes
- How Tire Tread and Pressure Affect Hydroplaning Risk
In stock & ready to ship
Find the tires you need, delivered from a warehouse near you