
Civic Holiday Getaways: Smart Tire Prep for a Fully Loaded Vehicle
Prepare your tires, pressure, cargo and emergency equipment before heading out for a Civic Holiday getaway in a fully loaded vehicle.
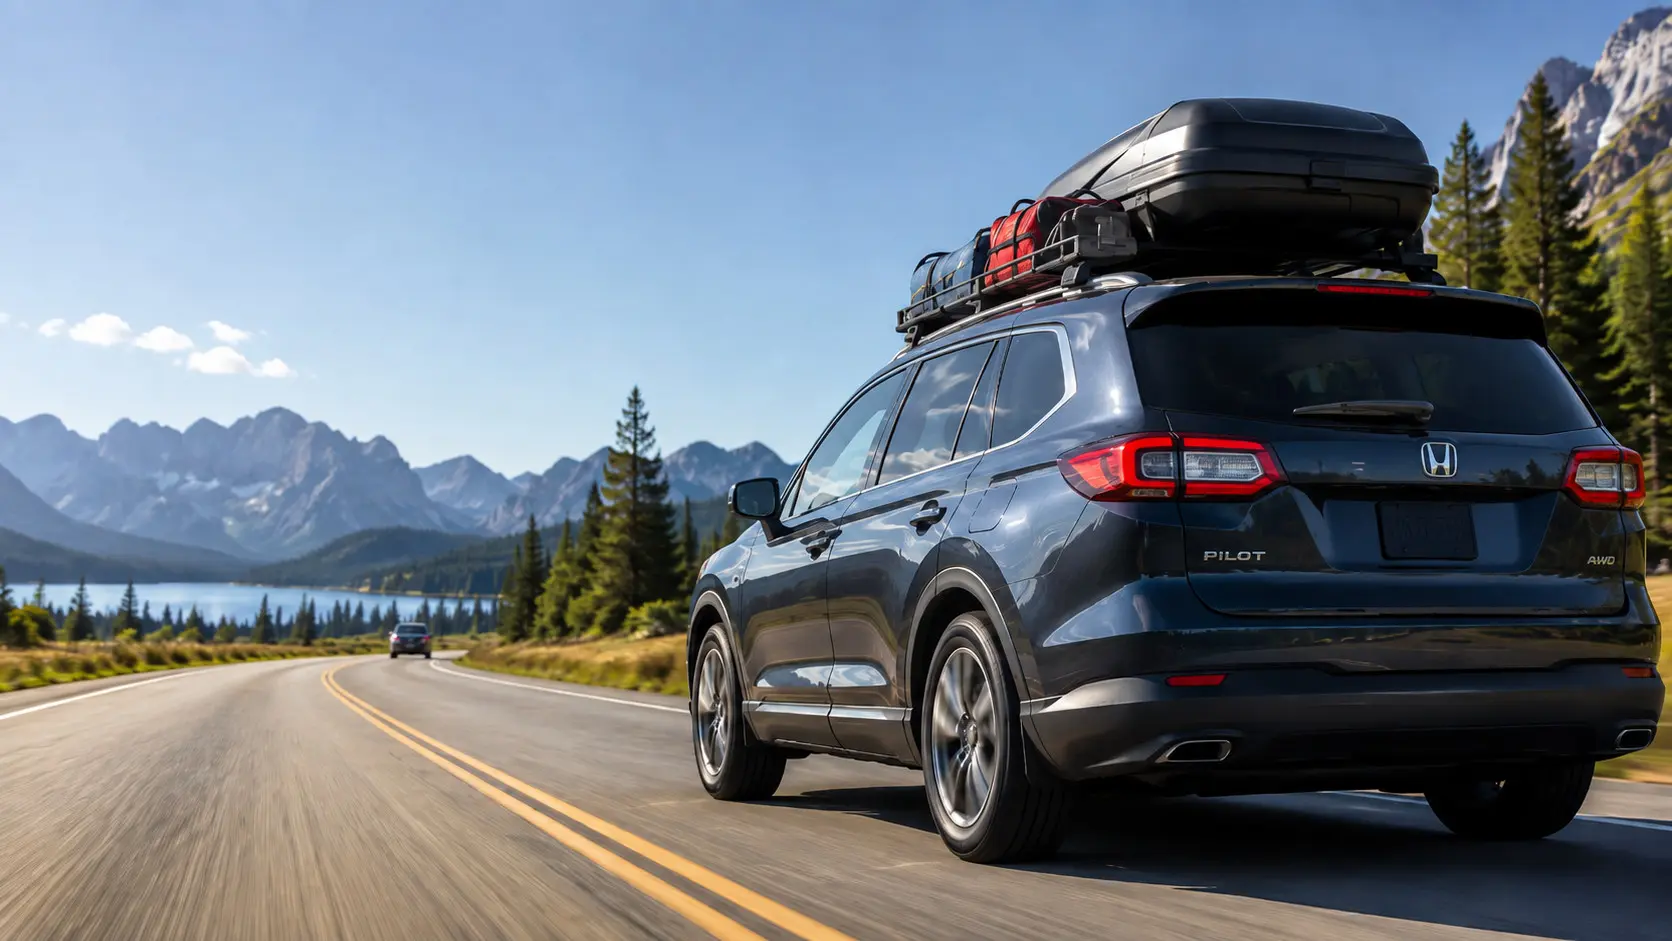
Civic Holiday Getaways: Smart Tire Prep for a Fully Loaded Vehicle
The Civic Holiday long weekend is a popular time for cottage trips, camping getaways, family visits and long drives across Canada. It can also mean travelling with every seat occupied, a full cargo area, bicycles on the back and extra equipment secured to the roof.
That additional weight changes how your vehicle accelerates, corners and stops. It also increases the work performed by your tires. Underinflation, excessive cargo, hidden tire damage or uneven tread wear may become more serious once the vehicle is carrying passengers, luggage and recreational equipment at highway speeds.
Before joining traffic on the Trans-Canada Highway, a busy 400-series route or a rural road leading to the lake, take time to check your tires and confirm that the vehicle is loaded correctly. A careful inspection can help you identify problems at home instead of discovering them on the shoulder of a crowded highway.
Why Does a Fully Loaded Vehicle Require Extra Tire Preparation?
A fully loaded vehicle places more weight on its tires, which can increase heat buildup, affect handling and lengthen the distance required to stop.
Every tire is designed to carry a limited amount of weight at a specified inflation pressure. Your vehicle manufacturer selects a tire size, load capacity and recommended cold inflation pressure that work with the vehicle’s suspension, braking system and expected passenger-and-cargo load.
When you add coolers, camping equipment, suitcases, bicycles and passengers, the tires must support more weight. If a tire is also underinflated, its sidewall can flex more than intended. That additional flex generates heat and may accelerate wear, especially during sustained highway driving on a hot August afternoon.
A heavier vehicle may also respond differently during emergency manoeuvres. Steering can feel slower, body movement may increase and braking distances may become longer. Rain, standing water, gravel roads and sudden traffic slowdowns can further reduce the available safety margin.
| Effect of Additional Load | What the Driver May Notice | Why Tire Preparation Matters |
|---|---|---|
| More weight on each tire | Slower acceleration and heavier steering | Correct inflation helps the tire carry its intended load |
| More heat generation | Tires feel warm after extended highway driving | Underinflation and overloading can increase heat stress |
| Changed vehicle balance | More body movement during turns or lane changes | Even loading helps preserve predictable handling |
| Greater braking demand | More distance may be needed to slow down | Healthy tread and proper pressure support braking performance |
| Higher rear-axle load | Rear of vehicle appears lower than normal | Payload and axle limits must not be exceeded |
Expert tip: A vehicle can run out of payload capacity before its cargo area looks full. Passenger weight, accessories, luggage, roof cargo and trailer tongue weight may all count toward the total load.
Check the Vehicle’s Load Limits Before Packing
The safest packing plan begins with the vehicle information label and owner’s manual—not with the amount of space available in the cargo area.
Look for the tire and loading information label, which is normally located on the driver’s door jamb or door frame. Depending on the vehicle, the label may identify:
- The original tire size
- Recommended cold inflation pressure for the front and rear tires
- Seating capacity
- Maximum combined weight of occupants and cargo
The owner’s manual may provide additional instructions for carrying a full load, towing a trailer or using a roof rack. Some vehicles specify a different inflation pressure for sustained high-speed travel or maximum loading. Follow those vehicle-specific instructions rather than applying a general pressure increase.
Understand Payload Capacity
Payload is the amount of weight the vehicle can carry. It generally includes the driver, passengers, luggage, aftermarket accessories, cargo and any trailer tongue weight supported by the vehicle.
For example, five adult passengers plus coolers, camping equipment and bicycles can consume payload capacity quickly. Adding heavy equipment without checking the limit can overload the vehicle even when there is still physical space available.
Do Not Exceed Axle or Vehicle Weight Limits
The gross vehicle weight rating and gross axle weight ratings identify limits established by the vehicle manufacturer. Concentrating too much weight behind the rear axle can overload the rear tires or axle even if the vehicle’s overall weight appears acceptable.
Drivers carrying unusually heavy cargo, towing or using a large hitch-mounted carrier should consult the owner’s manual and, when necessary, have the loaded vehicle weighed at an appropriate scale.
Confirm That Replacement Tires Have Adequate Load Capacity
Replacement tires should meet the vehicle manufacturer’s size and load-capacity requirements. A tire’s load index appears as part of the service description on its sidewall, but that number should not be evaluated in isolation.
If your vehicle has non-original wheels, a different tire size or added equipment, ask a qualified tire professional to confirm that the complete setup is appropriate. The wheels, tires and inflation pressure must all be suitable for the vehicle and its intended load.
Set Tire Pressure While the Tires Are Cold
Check all tires with a reliable gauge before driving, using the cold inflation pressure listed by the vehicle manufacturer.
“Cold” pressure generally means the vehicle has been parked for several hours and the tires have not been heated by extended driving. Checking pressure early in the morning before loading the vehicle is often convenient, but the vehicle should be checked again if adding cargo reveals an obvious problem.
Use the pressure listed on the vehicle placard or in the owner’s manual. Do not automatically inflate the tires to the maximum pressure moulded into the tire sidewall. The sidewall marking describes a tire limit under specified conditions; it is not the routine pressure recommendation for every vehicle using that tire.
| Pressure Information | What It Tells You | How to Use It |
|---|---|---|
| Driver’s door-jamb placard | Vehicle manufacturer’s recommended cold pressure | Use as the primary inflation reference |
| Owner’s manual | Vehicle-specific loading, towing and pressure instructions | Check for full-load or highway guidance |
| Tire sidewall | Tire size, service description and maximum-load information | Do not treat the maximum value as the normal target pressure |
| TPMS warning light | One or more monitored tires may be significantly underinflated or the system may have a fault | Stop safely, inspect and measure pressure with a gauge |
| Handheld pressure gauge | Current measured pressure | Use before the trip and during longer journeys when appropriate |
Check Every Road Tire
Measure the front and rear tires individually. Do not assume they require the same pressure, because some vehicles specify different front and rear values.
Replace each valve cap after checking pressure. A cap helps protect the valve from dirt and moisture, although it does not replace a properly functioning valve core.
Do Not Forget the Spare
If the vehicle has a compact or full-size spare, check its pressure and condition. Compact spares often require a substantially different pressure from the road tires, so use the value provided on the spare, vehicle label or owner’s manual.
Some vehicles use a sealant-and-compressor kit instead of a spare. Confirm that the kit is present, that its sealant has not expired and that you understand its limitations. Tire sealants cannot safely address every type or location of damage.
Do Not Release Air From a Hot Tire
Tire pressure normally rises as the tire warms during driving. Do not bleed air from a warm tire merely because the reading is higher than the cold specification. Doing so can leave the tire underinflated after it cools.
When a pressure adjustment must be made during a trip, follow the owner’s manual or obtain assistance from a tire professional. A tire that repeatedly loses pressure needs an inspection rather than repeated topping up.
Inspect Tread Depth and Wear Across All Four Tires
Healthy tread helps the tire maintain contact with the road, particularly during the heavy rain and standing water that can accompany summer travel.
Inspect several locations across each tire rather than checking only one visible tread block. Look at the inner, centre and outer portions of the tread. Uneven wear may indicate an inflation, alignment, suspension or rotation issue.
Watch for Tread-Wear Indicators
Tires have raised wear indicators moulded into the main grooves. When the surrounding tread approaches the height of these bars, the tire is near the end of its usable tread life and should be assessed promptly.
Do not base a road-trip decision only on whether a tire has reached the absolute legal minimum. Wet-weather traction can decline as tread becomes shallower, and provincial requirements may vary. A tire professional can measure the remaining tread and help determine whether replacement is appropriate for the planned route and conditions.
Look for Uneven Wear Patterns
- Wear on both shoulders: May be associated with prolonged underinflation or heavy loading.
- Wear in the centre: May be associated with excessive inflation for the application.
- Wear on one edge: May indicate an alignment or suspension concern.
- Cupped or scalloped wear: May be related to suspension, balance or alignment problems.
- One tire wearing faster: May indicate a mechanical issue, missed rotation or pressure loss.
These patterns are clues rather than a complete diagnosis. Have unusual wear inspected before beginning a long trip.
Consider Wet-Road Demands
A sudden August downpour can leave deep water in wheel tracks and low sections of the roadway. Tread grooves help move water away from the tire’s contact area, but speed, water depth, tire condition and pressure all influence hydroplaning risk.
Reduce speed in heavy rain, leave more following distance and avoid abrupt steering or braking. Even a new tire cannot overcome excessive speed for the conditions.
Examine the Sidewalls for Damage or Age-Related Deterioration
Bulges, cuts, exposed cords, deep cracking or impact damage should be inspected before the vehicle is loaded for highway travel.
Move the vehicle if necessary so you can view more of each tire. Use a flashlight to inspect shaded areas and check both the outer sidewall and accessible tread surface.
Warning signs include:
- Bulges or bubbles in the sidewall
- Cuts, gouges or visible cords
- Cracks around the tread or sidewall
- Nails, screws or other embedded objects
- Repeated pressure loss
- Vibration that changes with speed
- Damage caused by a pothole or curb impact
Do not remove an embedded object before reaching a safe location or obtaining professional guidance. Removing it may cause the tire to lose air more quickly.
Check the DOT Tire Date Code
The tire identification information on the sidewall includes a date code indicating the week and year of manufacture. Age alone does not provide a complete picture of tire condition, because storage, climate, maintenance, exposure and use all matter.
However, older tires deserve careful inspection even when tread remains. Consult the vehicle and tire manufacturer guidance, and have tires assessed if their age or service history is uncertain.
Load the Vehicle to Protect Tire and Handling Performance
Place heavy cargo low, secure every item and distribute weight as evenly as possible without exceeding the vehicle’s limits.
Good loading is not simply a matter of fitting everything inside. Cargo position affects the vehicle’s centre of gravity, axle loading and emergency handling.
| Cargo Area | Recommended Approach | Reason |
|---|---|---|
| Cargo floor | Place dense items low and close to the centre of the vehicle | Helps limit centre-of-gravity changes and rear overloading |
| Behind rear seats | Secure luggage so it cannot move forward | Loose items can become dangerous during sudden braking |
| Roof rack or cargo box | Follow vehicle, rack and box weight limits | Roof weight can affect stability and fuel consumption |
| Hitch-mounted carrier | Include carrier and cargo weight in payload calculations | Weight behind the rear axle can increase rear-tire loading |
| Passenger compartment | Keep footwells and restraint areas clear | Objects should not interfere with pedals, seat belts or airbags |
Secure All Cargo
Use suitable straps, nets or the vehicle’s cargo anchors. Do not rely on a closed hatch to keep heavy items in place. During emergency braking, an unsecured cooler, toolbox or suitcase can move with considerable force.
Keep the Driver’s View Clear
Maintain visibility through the windows and mirrors. When cargo blocks the rear window, ensure the side mirrors provide an adequate view and that the load complies with applicable road rules.
Be Conservative With Roof Cargo
Kayaks, canoes, bicycles and cargo boxes should be mounted using equipment designed for the vehicle and the load. Follow the lowest limit in the complete system, including the vehicle roof, crossbars, rack attachments and cargo box.
Recheck roof-mounted equipment after the first portion of the drive and during scheduled stops. Straps can settle and attachments may need attention, but any adjustment should be performed in a safe parking area away from traffic.
Prepare for Heat, Rain, Construction and Cottage Roads
Civic Holiday routes can combine hot pavement, thunderstorms, congested highways, construction zones and rough secondary roads in a single trip.
Hot Pavement
High ambient temperatures and sustained highway speeds increase tire temperature. Correct cold inflation, adequate load capacity and sensible speed are especially important when the vehicle is heavily loaded.
Stop if you notice vibration, a pulling sensation, unusual noise or a tire-pressure warning. Find a safe location away from moving traffic before inspecting the vehicle.
Heavy Rain and Standing Water
Slow down before entering standing water. Avoid cruise control during severe rain when frequent speed adjustments may be necessary. Maintain a larger gap from the vehicle ahead and make steering inputs smoothly.
Construction Zones and Potholes
Summer roadwork can expose sharp pavement edges, loose gravel and temporary lane transitions. Reduce speed and avoid striking potholes whenever it can be done safely without a sudden swerve.
After a severe impact, watch for steering pull, vibration, pressure loss or a new sidewall bulge. Damage can exist even when the tire does not immediately become flat.
Gravel and Unpaved Roads
Cottage and campground access roads may contain sharp stones, washboard surfaces and deep ruts. Drive slowly, avoid abrupt steering and inspect the tires after travelling over unusually rough terrain.
Complete a Four-Tire Road-Trip Inspection
A consistent checklist helps prevent one overlooked tire from undermining the entire trip.
- Read the vehicle placard. Confirm the required tire size and cold inflation pressures.
- Measure all four road tires. Adjust pressure before highway driving.
- Check the spare or mobility kit. Verify pressure, condition and expiry dates where applicable.
- Inspect tread depth. Check the inner, centre and outer tread areas.
- Examine the sidewalls. Look for bulges, cuts, cracking and impact damage.
- Check for uneven wear. Investigate edge wear, cupping or significant differences between tires.
- Confirm the load rating. Make sure the tires remain suitable for the vehicle and intended load.
- Review payload limits. Include passengers, accessories and cargo.
- Secure the load. Keep heavy items low and prevent movement.
- Test the vehicle before departure. Listen for noise and note any steering pull or vibration.
Inspect More Than the Tires
Tire preparation works best when the wheels, brakes, suspension and emergency equipment are also ready for the trip.
Wheel Alignment and Balance
If the vehicle pulls to one side, the steering wheel is off-centre or the tires show uneven wear, schedule an inspection before the trip. Alignment concerns can reduce handling predictability and accelerate tire wear.
Persistent vibration may be related to wheel balance, tire damage, a bent wheel or another mechanical issue. Do not assume that vibration is harmless simply because the vehicle remains driveable.
Tire Rotation
Regular rotation can help manage wear differences between front and rear tires. Follow the vehicle and tire manufacturer’s recommended pattern and interval.
If rotation is overdue, complete it early enough to identify any related concerns before departure. A rotation does not correct damaged tires, alignment problems or improper inflation.
Wheel Fasteners
If the wheels were recently removed for service, follow the service provider’s instructions regarding wheel-fastener rechecks. Incorrectly installed or loose fasteners require immediate professional attention.
Emergency Equipment
- Reliable tire-pressure gauge
- Portable inflator suitable for the vehicle
- Warning triangles or other visibility equipment
- Reflective vest
- Flashlight with working batteries
- Vehicle jack and wheel-removal tools, when applicable
- Roadside assistance information
- Phone charger or power bank
- Drinking water and basic first-aid supplies
Confirm that the jack and tools match the vehicle’s wheels. Aftermarket wheels may use different fasteners or require a special key.
Adjust Your Driving for the Additional Weight
Leave more space, brake earlier and use smooth steering because a loaded vehicle may respond more slowly than it does during everyday commuting.
Begin with moderate speeds so you can evaluate how the vehicle feels. Pay attention to steering response, braking, body movement and visibility.
- Increase following distance.
- Brake progressively and earlier than usual.
- Enter curves at an appropriate speed.
- Avoid abrupt lane changes.
- Reduce speed in rain, gravel and construction zones.
- Allow more room when merging or passing.
- Take regular breaks during long drives.
Electronic stability control, anti-lock brakes and advanced driver-assistance systems can support the driver, but they do not eliminate the effects of excessive load, worn tires or inappropriate speed.
Monitor the Tires During the Trip
Use planned rest stops to look for pressure loss, shifting cargo and developing tire damage.
At a safe parking location, walk around the vehicle and check for:
- A tire that appears lower than the others
- A new bulge, cut or embedded object
- Unusual rubber odour or visible damage
- Loose roof-rack or carrier attachments
- Cargo that has shifted
- A trailer tire that appears low or damaged
Do not touch brake components or assume tire temperature alone identifies a problem. Tires and wheels can become hot during normal operation. Differences accompanied by pressure loss, odour, smoke, vibration or abnormal handling require immediate attention.
Respond Promptly to a TPMS Warning
A tire-pressure monitoring system is an important warning device, but it does not replace manual pressure checks. It may not alert you to smaller pressure differences, tread damage, overloading or every type of tire failure.
If the warning illuminates, reduce speed smoothly and move to a safe location. Inspect the tires and use a gauge when it is safe to do so. If the cause is unclear, contact roadside assistance or a tire professional.
Account for Trailers, Bike Racks and Hitch Carriers
Towing and rear-mounted equipment can add substantial load to the rear axle and tires even when the cargo is outside the passenger compartment.
Trailer tongue weight is supported by the tow vehicle and normally forms part of its payload calculation. A hitch-mounted cargo platform or bicycle rack also places weight behind the rear axle, where leverage can influence handling and rear-tire loading.
Before towing:
- Confirm the vehicle’s towing and payload limits.
- Verify the hitch, ball mount and safety equipment ratings.
- Check the tow vehicle and trailer tire pressures while cold.
- Inspect trailer tire tread, sidewalls, age and load capacity.
- Confirm that the trailer load is distributed and secured correctly.
- Test all trailer lights and connections.
- Carry the correct spare and tools for both the vehicle and trailer.
Trailer tires may have different pressure and service requirements from the tow vehicle’s tires. Use the trailer and tire manufacturer information rather than copying the tow vehicle pressure.
Avoid These Common Long-Weekend Tire Mistakes
The most common errors involve guessing at pressure, ignoring payload and postponing known tire problems until after the trip.
Inflating Every Tire to the Sidewall Maximum
The maximum sidewall value is not automatically the correct operating pressure for your vehicle. Start with the vehicle placard and consult the owner’s manual for full-load instructions.
Relying Only on the TPMS
A TPMS warning may appear only after pressure has fallen significantly. Use a gauge before departure and inspect the tires visually.
Checking Only the Front Tires
Rear tires may be carrying much of the added cargo weight. Measure and inspect every tire, including the spare or trailer tires.
Adding Cargo Until the Space Is Full
Available space is not the same as available payload. Check the vehicle’s weight limits and include occupants in the calculation.
Ignoring a Slow Leak
A tire that needs frequent air may have a puncture, valve leak, bead issue or wheel damage. Have it inspected before the trip.
Postponing Alignment or Vibration Concerns
A long highway drive is not the time to test whether an existing pull or vibration becomes worse. Identify the cause before departure.
Installing an Unverified Tire Size
Different sizes can change load capacity, clearance and vehicle behaviour. Confirm compatibility with a qualified professional before using a non-original setup.
Use This Civic Holiday Tire-Prep Timeline
Begin several days before departure so there is time to repair or replace anything that does not pass inspection.
| Timing | Recommended Tasks |
|---|---|
| Five to seven days before | Inspect tread and sidewalls, investigate leaks or vibration, review payload and towing limits, and schedule service if needed |
| One to two days before | Pack heavy items low, confirm roof-rack installation, inspect the spare and organize emergency equipment |
| Morning of departure | Measure cold tire pressure, secure cargo, test lights and complete a walk-around inspection |
| After the first driving segment | Stop safely to check cargo, racks, carriers, trailer connections and visible tire condition |
| During the getaway | Respond promptly to pressure warnings, vibration, steering pull, impacts or visible damage |
| After returning home | Remove unnecessary cargo and inspect for damage from gravel, potholes or unpaved roads |
Final Recommendation for a Safer Civic Holiday Getaway
Check tire pressure, tread, condition and vehicle load limits before packing the final bag.
A fully loaded vehicle asks more from its tires. Starting with the manufacturer’s cold-pressure recommendation, staying within payload limits and distributing cargo correctly can help preserve predictable handling throughout the trip.
Address slow leaks, unusual wear, vibration and sidewall damage before departure. When tire age, load capacity or condition is uncertain, arrange a professional inspection rather than relying on a visual guess.
Once on the road, reduce speed for rain and rough surfaces, leave additional stopping room and inspect the vehicle during planned breaks. Thoughtful preparation can make the drive to the cottage, campground or family gathering less stressful—and help everyone arrive ready to enjoy the August long weekend.
Frequently Asked Questions
Should I add extra tire pressure when my vehicle is fully loaded?
Only add pressure when the vehicle manufacturer provides a higher full-load recommendation. Check the driver’s door-jamb placard and owner’s manual. Do not create your own adjustment or inflate automatically to the tire sidewall maximum.
Should tires be checked before or after loading the vehicle?
Measure and adjust the tires while they are cold, preferably before extended driving. You can load the vehicle afterward, but complete another visual walk-around to check for an obviously low tire, excessive rear sag or a loading problem.
Is the maximum pressure on the tire sidewall the correct road-trip pressure?
Not necessarily. The sidewall value is a tire limit under specified conditions. The correct routine pressure for the vehicle is normally listed on the tire-information placard or in the owner’s manual.
Can a fully loaded vehicle cause a tire blowout?
Excessive load can increase tire stress and heat generation, particularly when combined with underinflation, high speed, impact damage or an existing defect. Staying within load limits and maintaining correct pressure reduces avoidable risk but cannot prevent every tire failure.
How much tire tread do I need for a summer road trip?
The tires must meet applicable provincial requirements, but legal minimums should not be the only consideration. Remaining wet-weather capability, wear pattern, tire age and the planned route also matter. Have shallow or uneven tread measured professionally before a long trip.
Is a TPMS warning light enough to tell me whether my tires are safe?
No. TPMS can warn about certain pressure problems, but it does not measure tread depth, identify every puncture, detect overloading or replace a physical inspection. Use a pressure gauge and inspect the tires before departure.
Why does my tire pressure increase during highway driving?
Air pressure increases as a tire warms during operation. This is expected. Do not release air from a hot tire simply to return it to the cold specification, because the tire may become underinflated after cooling.
Do I need to check the spare tire before a road trip?
Yes. Spare tires can lose pressure while stored and may go unchecked for months or years. Confirm the required pressure, condition and accessibility of the spare, jack and tools. For mobility kits, check the compressor and sealant expiry date.
Does a roof box affect tire loading?
Roof cargo contributes to the vehicle’s total payload and can raise its centre of gravity. Follow the vehicle, crossbar and cargo-box limits, distribute the load carefully and account for the weight of the box itself.
Does a hitch-mounted bike rack count as payload?
Yes, the rack and bicycles add weight to the vehicle. Because that weight sits behind the rear axle, it can also influence rear-tire loading and handling. Include it when reviewing payload and hitch limits.
Should I rotate my tires immediately before leaving?
Rotate the tires when required by the recommended maintenance schedule, but leave enough time to address any vibration, fastener or wear concern discovered during service. Rotation cannot correct alignment problems or damaged tires.
What should I do after hitting a pothole with a loaded vehicle?
Move to a safe location and inspect the tire and wheel. Watch for pressure loss, bulges, cuts, vibration or a new steering pull. Arrange an inspection if the impact was severe or the vehicle behaves differently afterward.
Can I repair a flat tire with a sealant kit and continue my holiday?
Sealant kits are temporary mobility tools and are not suitable for every puncture. Follow the kit and vehicle instructions, observe any speed or distance restrictions and have the tire inspected as soon as possible.
Recommended Related Reading
In stock & ready to ship
Find the tires you need, delivered from a warehouse near you